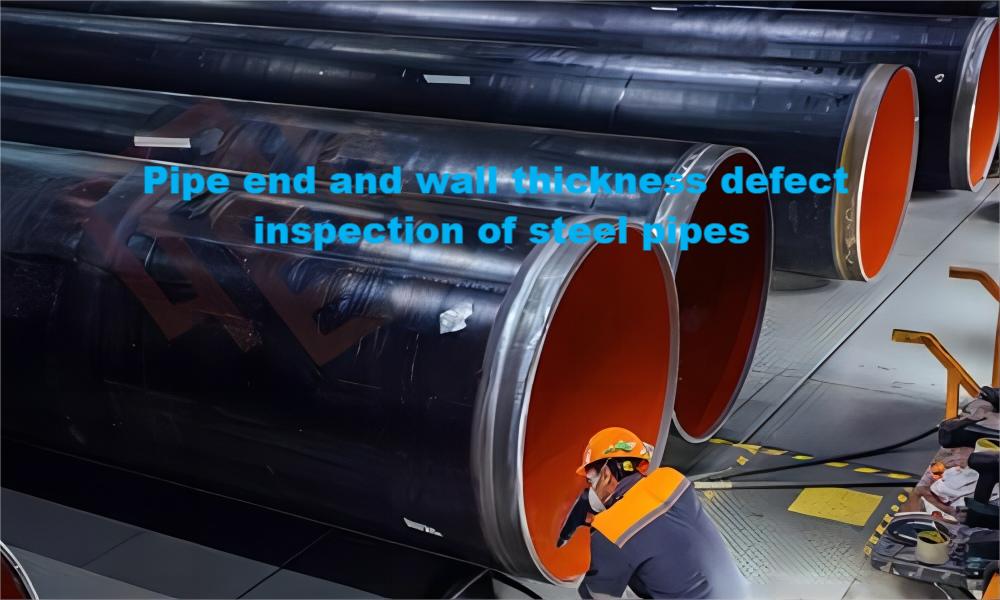
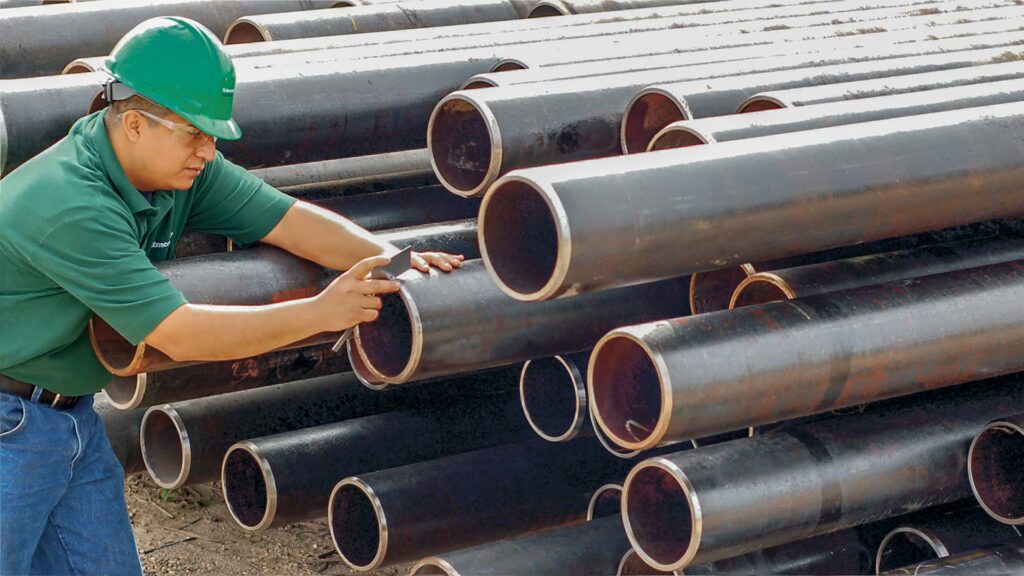
Defects such as uneven wall thickness can exist at both ends of the pipe after rolling is completed, so each pipe is partially removed from both ends. This article describes how to know the defective part of the pipe end. Steel pipe has a hollow cross-section, the length of which is much greater than the diameter or circumference of the steel. According to the material is divided into carbon structural steel pipe, low-alloy structural steel pipe, alloy steel pipe and composite steel pipe; according to the use of transport pipeline, engineering structure, thermal equipment, petrochemical industry, machinery manufacturing, geological drilling, high-pressure equipment with steel pipe; according to the production process is divided into seamless steel pipe and welded steel pipe, which is divided into hot-rolled and cold-rolled (drawn) two kinds of seamless steel pipe, welded steel pipe and straight seam welded steel pipe and spiral welded steel pipe. The quality of the pipe end is the data that needs to be tested, and the unqualified pipe end needs to be removed, so this paper mainly develops the equipment that can realize the pipe end defect detection and wall thickness detection.
Pipe end defect detection
The pipe end of a substantial defect detection
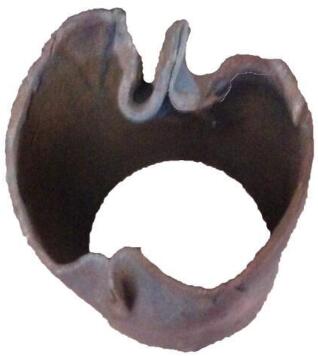
Steel pipe through the sizing machine after sizing, part of the end of the pipe will appear wall wrinkling and inward collapse, will lead to the end of the wall thickness measurement device laser probe can not reach into the steel pipe.
Industrial camera photography and image processing techniques are used to achieve detection of pipe end defects. Image processing is used to identify the presence of collapsed pipe wall cross-section in the bore of the steel pipe under the statistical model and the size of the collapsed amount, which in turn determines whether the pipe end needs to be sawed.
Wall thickness defect detection
Through the pipe end defect detection introduced in 1.1, the measuring end of the laser thickness gauge can be made to pass through the port of the pipe under test, thus achieving the detection of wall thickness defects.
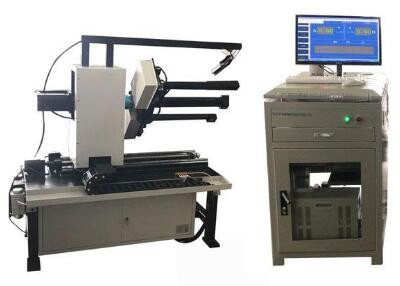
Steel pipe after rolling is completed at both ends of the pipe will have uneven wall thickness and other defects, so each steel pipe will be part of both ends removed. Since the length of the defective end of each pipe varies, it is difficult to determine the specific length of removal when removing. Laser thickness gauge uses the laser principle to measure the wall thickness of the steel pipe end size, can complete this part of the work, through the continuous detection of wall thickness to determine the length of the defective end of the pipe, and in the defective and qualified parts of the dividing line through the marking machine to make a mark, to provide the size of the cutting process based on.
Composition of equipment
Because a steel pipe has two pipe ends to be measured, so two sets of measurement systems need to be installed at the same time.
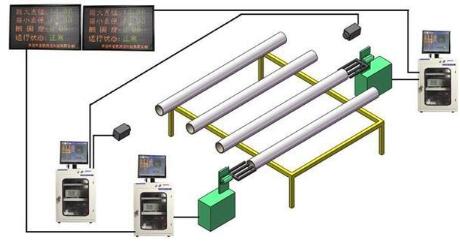
As can be seen from the above figure, two defect measurement devices, respectively, located at both ends, and, in different locations for sequential measurement, two devices to complete the measurement of each other also need to communicate with each other, the measurement data will be unified to the same steel pipe number, while the measurement data will be transmitted to the total information management system, easy to query and later tracking.
Summary
This paper designs and implements a non-contact automatic measurement system for pipe end wall thickness, and accurately measures and marks the defect location. The system uses a rotary table to drive the laser displacement sensor to rotate around the central axis of the steel pipe to measure the wall thickness dimension of the entire circumference of one section of the pipe end. At the same time combined with the translation table automatically adjusts the distance between the measurement section and the pipe end, the large lifting table adjusts the pipe center alignment height, and the double-arm translation table adjusts the measurable pipe diameter range, realizing the non-contact automatic measurement of the pipe diameter of many specifications of steel pipes. The use of laser thickness gauge for the measurement of wall thickness brings great convenience, but also for the detection of defects.
After reading this article on the pipe end defects and wall thickness measurement you have any ideas or suggestions, despite the message below the article or private letter to the editor, some messages are not displayed here, can not do a timely response. I will do my best to exchange and share information and experience with everyone. Need to measure the width, length, thickness, outside diameter of the automatic measuring equipment, are available in the message below.
Source: China Piping Solutions Provider – Yaang Pipe Industry Co., Limited (www.yaang.com)
